With the ability to print in a wide range of materials and colors, 3D printing offers endless possibilities for creators and makers. However, in order to achieve the best results with your 3D printer, it is important to calibrate your printer’s settings, including the layer height.
Layer height refers to the thickness of each layer of material that is deposited by the 3D printer during the printing process. The layer height directly affects the quality and resolution of the print, as well as the overall printing time. In this article, we will discuss how to calibrate your 3D printer’s layer height to achieve the best results.
Understanding Layer Height
Before we dive into the calibration process, it is important to understand the concept of layer height and how it affects the final print. The layer height is measured in millimeters and determines the resolution of the print. A smaller layer height will result in a smoother and more detailed print, while a larger layer height will produce a faster but less detailed print.
The layer height is also closely related to the nozzle diameter of the 3D printer. The nozzle diameter determines the width of the extruded material, which in turn affects the layer height. For example, a printer with a 0.4mm nozzle diameter will typically have a layer height of around 0.2mm, as the nozzle deposits two layers of material to achieve the desired thickness.
Calibrating Layer Height
Calibrating your 3D printer’s layer height is essential for achieving accurate and high-quality prints. Here are the steps to calibrate the layer height:
1. Start by leveling the print bed to ensure that the first layer adheres properly to the bed. A properly leveled bed will prevent issues such as warping and poor adhesion.
2. Set the initial layer height in the slicer software. The initial layer height should be slightly larger than the subsequent layers to ensure good adhesion to the bed.
3. Print a calibration test object, such as a calibration cube or a calibration tower, that features different layer heights. This will help you determine the optimal layer height for your printer.
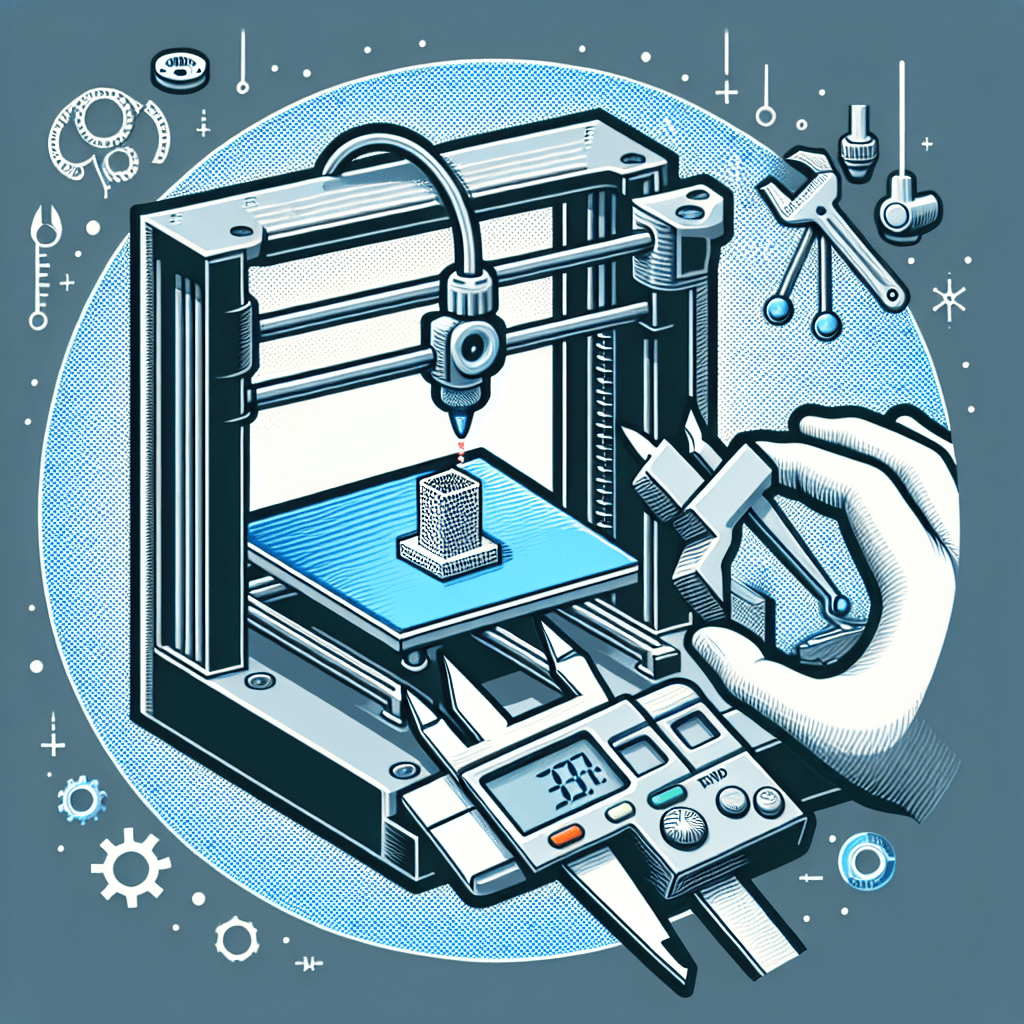
4. Measure the thickness of the printed layers with a caliper or micrometer. Compare the measured thickness to the intended layer height in the slicer software.
5. Adjust the layer height in the slicer software based on the measurements. Make small adjustments and reprint the calibration test object until you achieve the desired layer height.
6. Fine-tune the print settings, such as the print speed and temperature, to optimize the print quality at the calibrated layer height.
7. Print a test object with intricate details to evaluate the print quality at the calibrated layer height. Make further adjustments as needed to achieve the best results.
FAQs
Q: What is the recommended layer height for 3D printing?
A: The recommended layer height depends on the resolution and speed requirements of the print. A layer height of 0.2mm is commonly used for standard prints, while a layer height of 0.1mm is ideal for high-resolution prints. Experiment with different layer heights to find the optimal setting for your specific project.
Q: How does the layer height affect the printing time?
A: The layer height directly affects the printing time, as a smaller layer height will result in more layers being deposited, leading to a longer print time. Conversely, a larger layer height will reduce the number of layers and speed up the printing process. Consider the trade-off between print quality and printing time when selecting the layer height.
Q: Can I change the layer height during the printing process?
A: It is not recommended to change the layer height during the printing process, as this can result in inconsistent layer adhesion and print quality. It is best to calibrate the layer height before starting the print and maintain a consistent setting throughout the printing process.
In conclusion,
calibrating your 3D printer’s layer height is essential for achieving precise and high-quality prints. By following the steps outlined in this article and experimenting with different settings, you can optimize the layer height to meet your specific requirements. Remember to take your time and make small adjustments to achieve the best results with your 3D printer.
